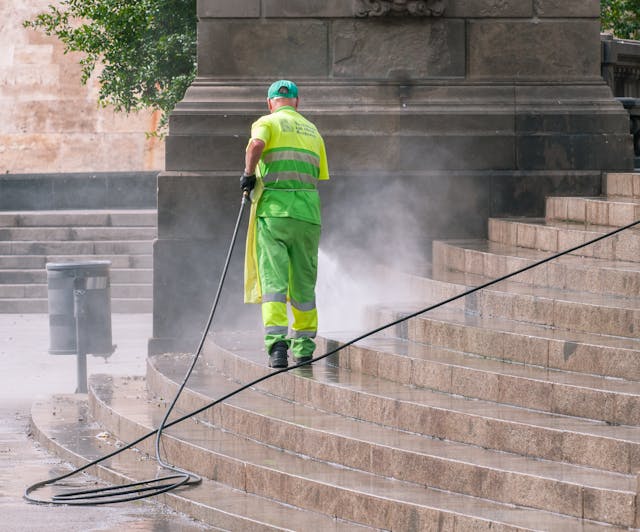
A successful paint job starts long before the first coat of paint is applied. One of the most effective ways to prepare any exterior surface is by using power washing. By removing dirt, mildew, peeling paint, and grime, power washing ensures the new paint adheres properly and delivers a smooth, long-lasting finish. Proper preparation not only enhances the appearance of your home but also protects it against premature paint failure.
Why Power Washing Is the Key to Painting Success
Power washing creates a clean, even base that maximizes paint adhesion and durability. Without this crucial step, new paint can bubble, peel, or crack in just a few months. Whether you are painting siding, brick, stucco, or wood, proper surface prep with power washing ensures your project looks professional and withstands the test of time.
1. Inspect the Surface First
Begin by examining the exterior for areas that need extra attention, such as peeling paint, mold, or oil stains. Identifying these issues early helps you adjust pressure levels and cleaning solutions during power washing, ensuring every part of the surface is properly prepared.
2. Choose the Right Pressure Setting
Different surfaces require different levels of pressure. For siding or stucco, use a lower pressure to avoid damage, while brick or concrete can handle higher settings. Adjusting the power washer ensures you clean thoroughly without harming the surface.
3. Apply Cleaning Solutions When Necessary
For surfaces with mildew, algae, or heavy staining, apply a cleaning solution before power washing. Use environmentally safe detergents that break down grime without leaving harmful residues. This step enhances cleaning efficiency and prepares the surface for even paint coverage.
4. Work in Sections for Even Cleaning
Divide the exterior into manageable sections and clean one area at a time. This approach prevents streaking and ensures every part of the surface receives equal attention. Working methodically creates a consistent base for painting.
5. Remove Loose or Peeling Paint
Use the power washer to blast away any flaking or peeling paint. Removing these weak spots is critical, as leaving them behind can cause the new paint to fail prematurely. A clean, stripped surface helps the new paint layer bond securely.
6. Allow the Surface to Dry Completely
After washing, give the surface ample time to dry before painting. Moisture trapped beneath paint can cause bubbling and peeling. Depending on weather conditions, drying may take 24 to 48 hours. Patience at this stage ensures lasting results.
7. Perform a Final Inspection
Once the surface is dry, walk around the property to inspect for any missed spots, cracks, or lingering debris. Addressing these details ensures your surface is fully prepared and ready for the painting process.
Conclusion
Prepping surfaces with power washing is the foundation of any long-lasting paint job. By cleaning thoroughly, removing weak areas, and allowing the surface to dry completely, you set the stage for flawless paint adhesion. Investing time in preparation now will save you the frustration of peeling or fading paint later, ensuring your home looks sharp and protected for years to come.